

博主在工作上经常会涉及到需要修改linux服务器网卡的地方,由于red hat系和ubuntu系的系统在网卡信息修改方式上有所不同,所以经常会搞混淆,于是特在此记录一下。
一.Red hat系系统的修改方式
1.修改网口配置文件
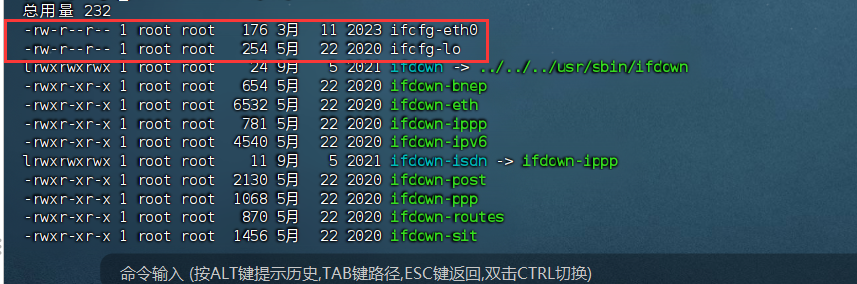
red hat系的系统网卡文件位置在/etc/sysconfig/network-scripts下,网卡的配置文件名为ifcfg-xxx,xxx为具体的网口名字。例如如下这台服务器,网口的配置文件就为ifcfg-eth0。
#然后我们进入网口配置文件
vi ifcfg-eth0
#得到如下静态地址的网口信息:
# network-config
TYPE=Ethernet
BOOTPROTO=static
DEFROUTE=yes
DEVICE=eth0
ONBOOT=yes
MTU=1450
IPADDR=10.0.87.2
NETMASK=255.255.255.0
GATEWAY=10.0.87.1
DNS1=8.8.8.8
DNS2=1.1.1.1
#如果要关闭网口,则将ONBOOT变更为no
#变更为dhcp方式:
TYPE=Ethernet
BOOTPROTO=dhcp # 修改此行,将获取地址的方式设为 DHCP
DEFROUTE=yes
DEVICE=eth0
ONBOOT=yes # 保持为 yes,表示开机时启用该网口
MTU=1450
#IPADDR=10.0.87.2 # 注释掉静态 IP 相关配置
#NETMASK=255.255.255.0
#GATEWAY=10.0.87.1
DNS1=8.8.8.8
DNS2=1.1.1.12.重启网络服务
systemctl restart network二.Ubuntu系系统的修改方式
1.修改网口配置文件
根据ubuntu系列的不同系统版本,旧版本ubuntu系统使用interface的修改方式,新版本(17.0版本以后)有使用netplan的修改方式。
①.旧版本ubuntu的interface文件修改方式
vi /etc/network/interfaces
#静态获取地址
auto eth0
iface eth0 inet static
    address 192.168.1.100
    netmask 255.255.255.0
    gateway 192.168.1.1
    dns-nameservers 8.8.8.8 1.1.1.1

 #动态获取地址
 auto eth0
 iface eth0 inet dhcp
②.新版本ubuntu的netplan修改方式
文件目录位置为:/etc/netplan,文件名一般以 .yaml 结尾。
#配置文件内容如下:
network:
version: 2
renderer: networkd
ethernets:
eth0:
dhcp4: yes
eth1:
dhcp4: no
addresses:
- 192.168.1.100/24
gateway4: 192.168.1.1
nameservers:
addresses:
- 8.8.8.8
- 1.1.1.1
eth2:
dhcp4: no
addresses:
- 192.168.2.100/24
gateway4: 192.168.2.1
nameservers:
addresses:
- 8.8.4.4
- 1.0.0.1
2.重启网络服务
①.旧版本ubuntu系统重启网络服务
service networking restart
或systemctl restart networking②.新版本ubuntu系统重启网络服务
netplan apply
Comments NOTHING